
 Jenna Taubel
1 min read
What you Need to Know About Check Fraud
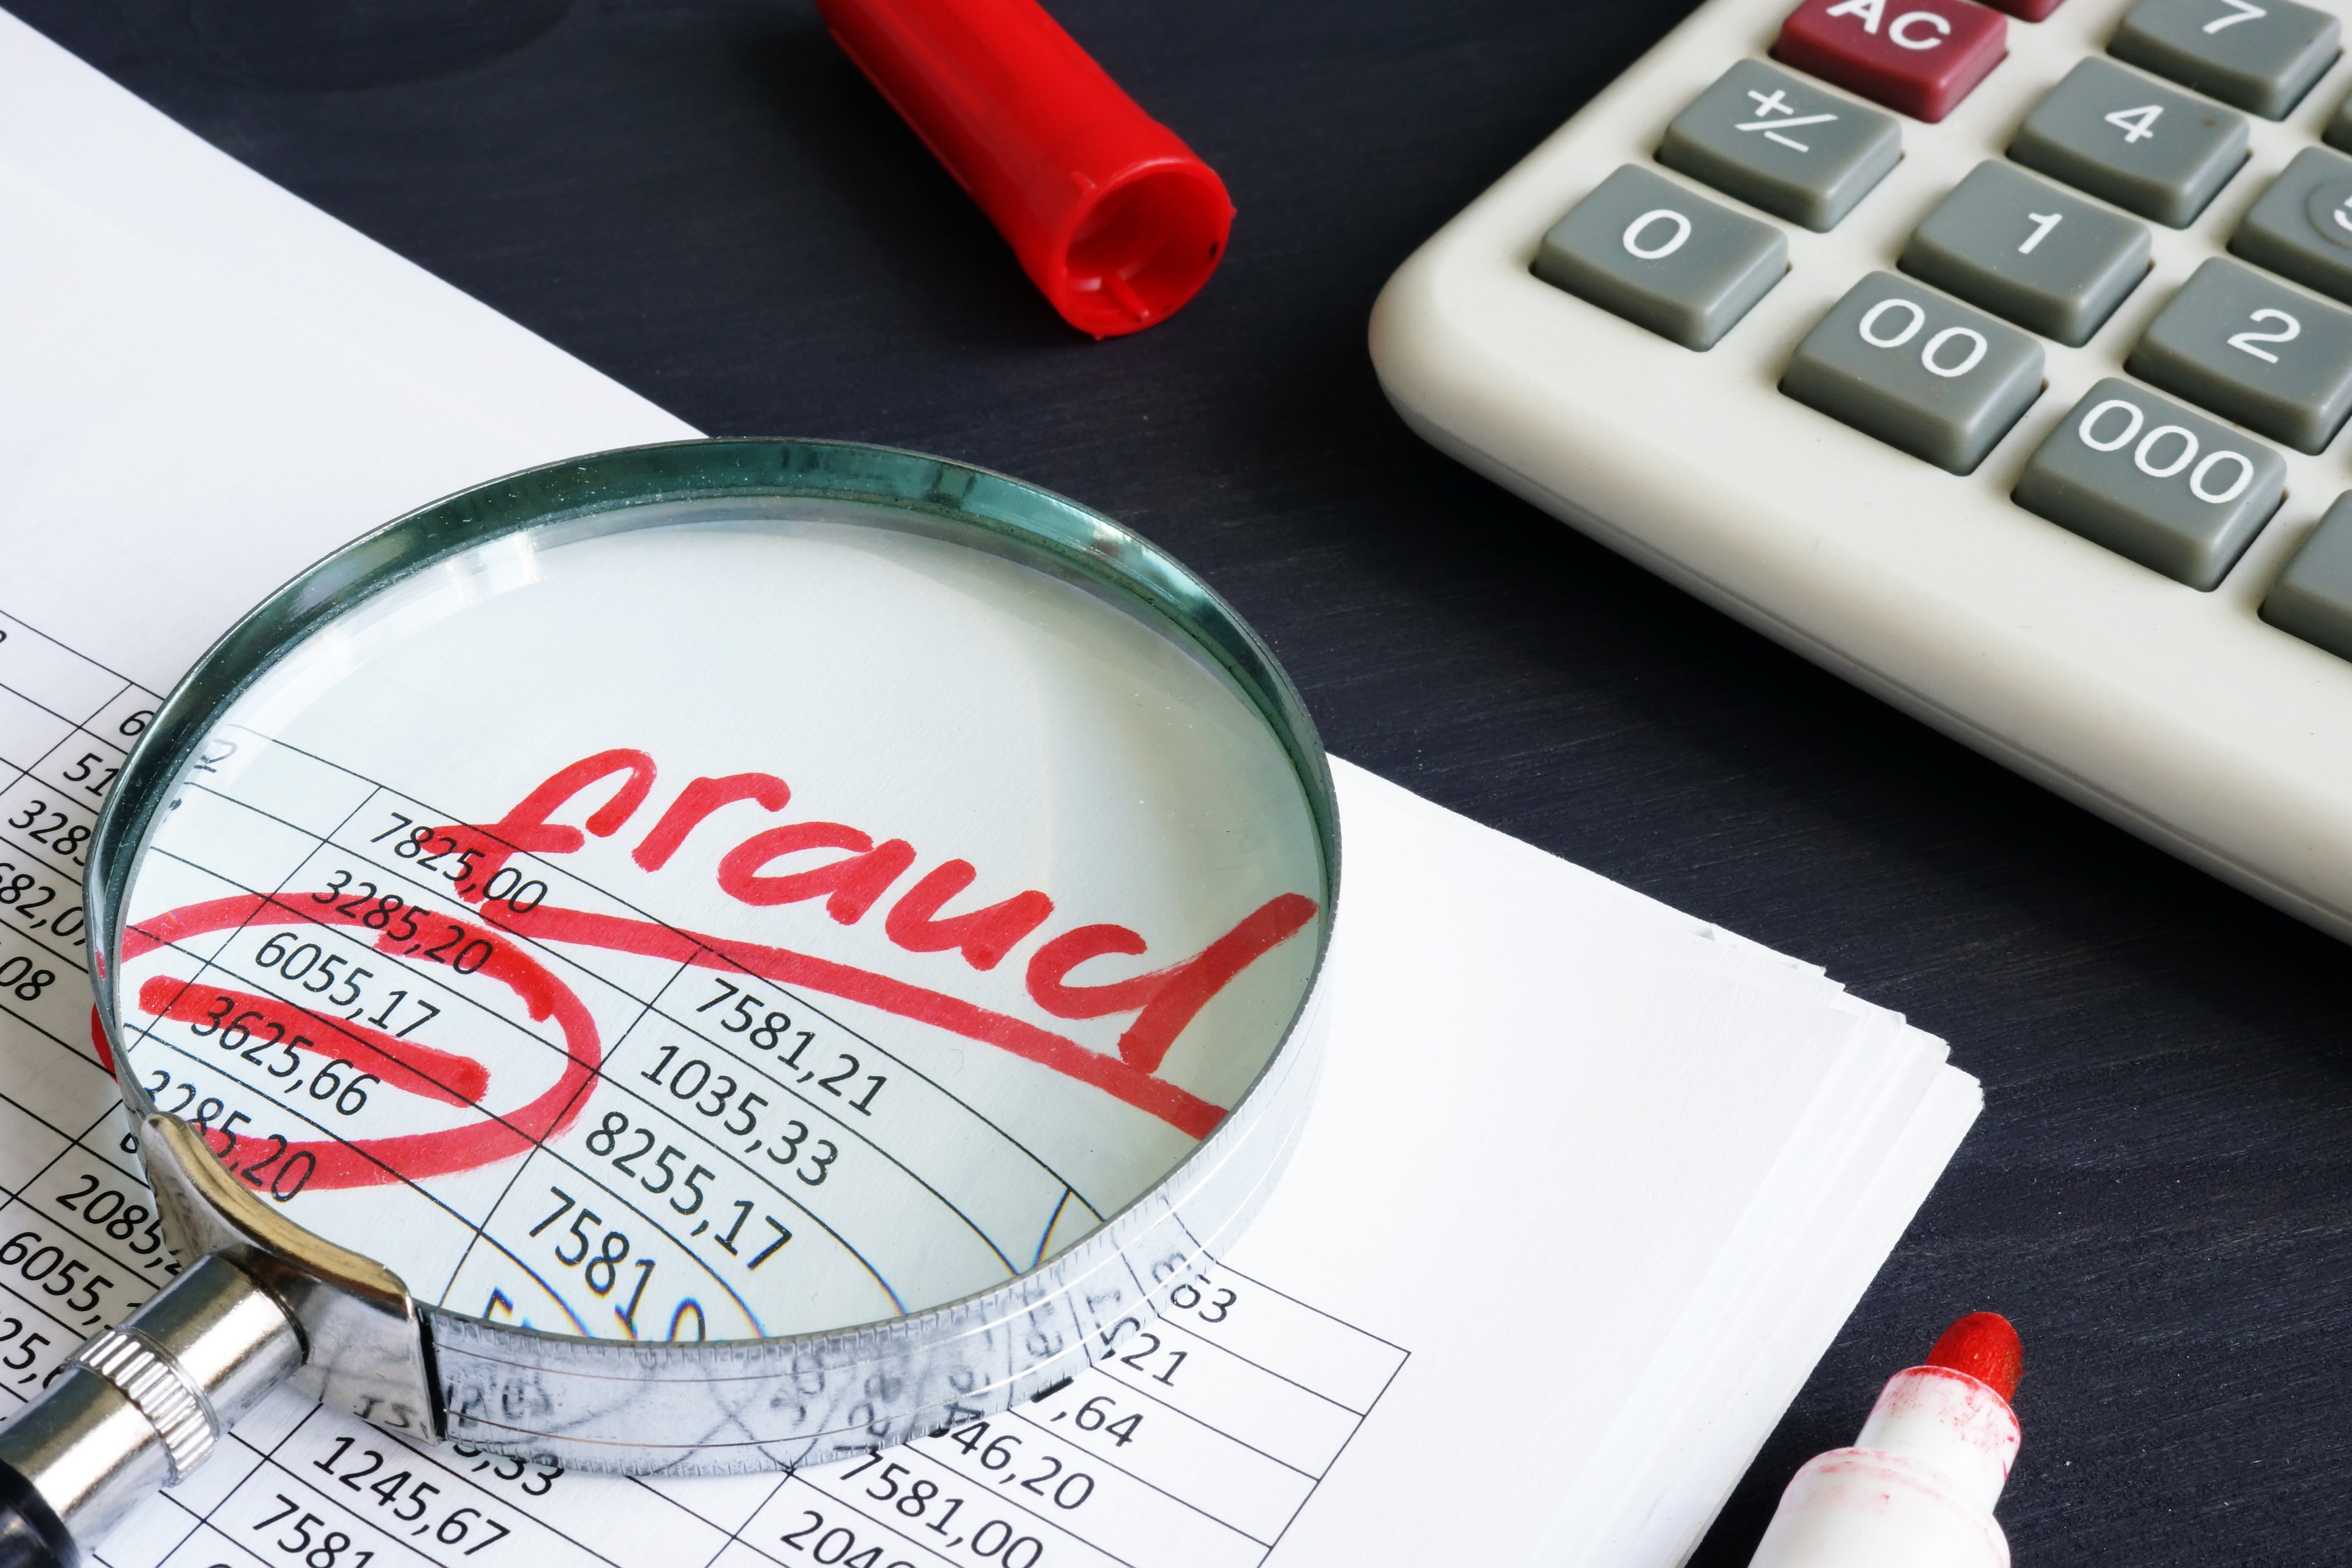
You’re probably aware of the numerous ways scammers try to con money out of victims through the Internet. What you may not know, though, is that in...

While check writing is not as common as it once was there are still occasions when you have to write a check. Writing checks is an easy and important skill that anyone with a checking account should know how to do.
Even if you only write one or two checks a year, you still need to know how to write a check correctly. Here we have laid out a step-by-step guide for how to write a check.

Write the date on the line at the top right-hand corner. This step is important because the financial institution or person you are giving the check to needs to know when you wrote it. Checks do expire--a financial institution doesn't have to allow you to deposit a check that was written over six months ago.
The next line on the check, “Pay to the order of,” is where you write the name of the person or business you are making a payment to. If you do not know the name of the entity, you can also write the word “cash” on this line. However, this can be risky if the check is lost or stolen, because anybody can cash or deposit a check made out to “cash."
There are two locations on a check where you write the dollar amount you are paying with the check. First, you’ll need to write the numeric dollar amount (i.e. 1,234.56) in the small box with the dollar sign ($) on the right. Be sure to write this clearly so the financial institution can accurately subtract this amount from your checking account.
The second location to write the amount being paid is on the line below “Pay to the order of.” You will need to write out the dollar amount in words to match the numerical dollar amount you wrote in the box. If the amount includes change, be sure to put the total cents amount over 100. If the dollar amount is a whole number, still include “and 00/100” for additional clarity. For example, if you are paying $1,234.56, you will write “one thousand two hundred thirty four & 56/100.” Writing the dollar amount in long form is an important step for a financial institution to be able to process a check, it is added confirmation of the correct total payment to be made.
This step is the only optional step in the check writing process. The memo line is helpful in keeping track of why you wrote the check. If you are using a check for a monthly electric bill or rent, you can write “July 2018 Electric Bill” or “Sept 2018 Rent” in the memo area. When you are paying a bill using a check, the company will often ask you to write your account number on the check in the memo area, this helps them assure they apply the correct payment to your account.
The final step in writing a check is to sign your name on the line at the bottom right-hand corner using the signature you used when you opened the checking account. This step shows the financial institution that you agree that you are paying the stated amount and to the correct payee. If signature on the check does not match the one listed on your account the financial institution will assume the check is fraudulent and will not allow the check to be cashed or deposited.
Three other important parts of a check to be aware of are the routing number, your account number, and the check number. In some situations you may be asked for this information when setting up direct deposits or automatic transfers through your checking account.
Routing Number: It is a nine-digit number that is the bank or credit union's electronic address essentially. Each financial institution has a different routing number, some even have multiple routing numbers for different purposes. This number tells the other financial institution where your money is located for when the check is cashed or deposited.
Account Number: This is your specific account number at your specific financial institution. This number tells the financial institution which account to withdraw the funds from when the check is cashed or deposited.
Check Number: This is a sequence number on your checks to help you and your financial institution keep track of the checks you have written. It is much easier to look up a check by it's number vs the dollar amount or the payee.
The steps for writing a check are straightforward and the more you do it the easier it becomes. First fill in the current date on the line in the upper right corner and write in the name of the person to be paid in the "Pay" field. Then add the numerical amount next to the dollar sign ($), and the written long form of the same amount on the line beneath. Lastly, sign the check on the line in the bottom right corner and add a "memo" about the check's purpose on the lower left line, if you so choose.
Of course, writing a check isn't the only way to send someone money. When you become a member of First Alliance Credit Union, you gain access to several methods of sending--and receiving--money. You can use Zelle to make direct payments to individuals, use our electronic bill pay service to pay your monthly bills, and even get points on every dollar you spend when you make purchases with our rewards credit card.

1 min read
You’re probably aware of the numerous ways scammers try to con money out of victims through the Internet. What you may not know, though, is that in...

1 min read
If you’re new to the world of financial institutions, you might wonder why you need a checking account as well as a savings account. After all, don’t...

1 min read
Your credit score might just be the most important number in your life. It determines whether you’ll get loans, how much interest you’ll pay on them...